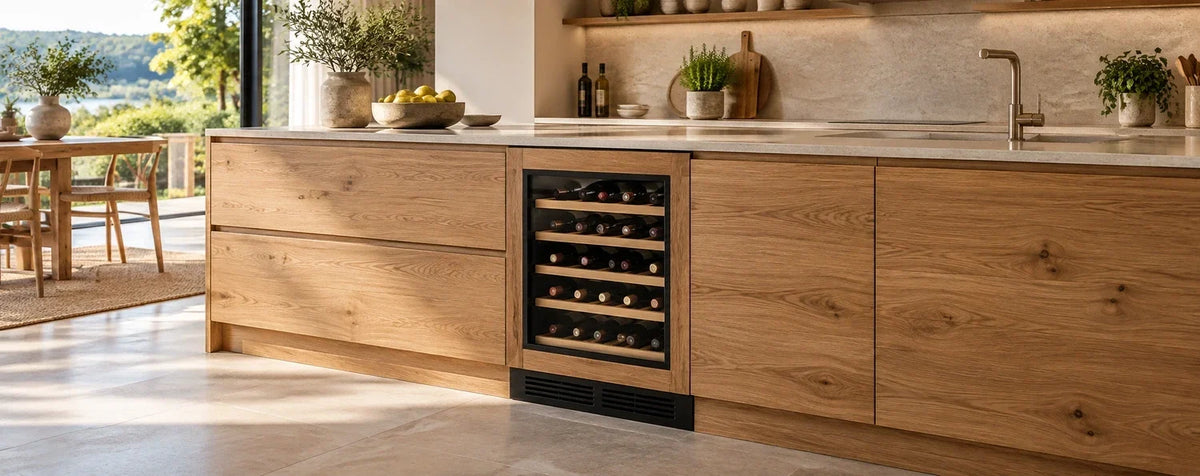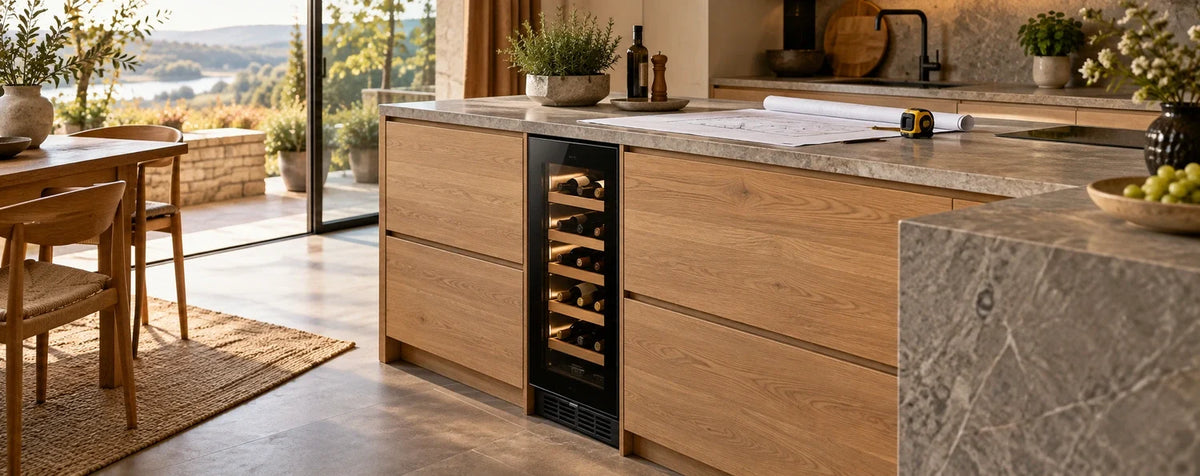
A wine cooler described as 15, 30 or 60 cm wide initially identifies a size category. The right opening depends on actual appliance dimensions and its installation drawing: clear width, height, depth, ventilation and door movement must work together. Choose the exact model before your kitchen studio finalises the opening.
A slim wine cooler can use a narrow part of a kitchen run; a wider model may give your collection more space. To turn the idea into a practical solution, do not rely only on the number in the model name. When updating an existing German fitted kitchen, distinguish the cabinet layout from the actual space available.
15, 30 or 60 cm: which width suits your plan?
| Size category | Typical planning approach | Important checks |
|---|---|---|
| 15 cm | A narrow addition for a limited wine stock. | Bottle shapes, shelf layout and precise measurements. |
| 30 cm | A compact wine area beneath the worktop. | Usable capacity, desired temperature zones and hinge side. |
| 60 cm | A wider wine area in a kitchen run. | Depth, height, front alignment and actual bottle arrangement. |
This table is a starting point. Width alone establishes neither a fixed bottle count nor a particular number of temperature zones. A shallow 60 cm model, for example, may have a different capacity from a deeper appliance in the same width category.
Nominal width is not appliance width or opening width
Three measurements are easily confused: the product’s width category, its actual outside width and the required clear opening width. A 60 cm cabinet also does not necessarily offer 60 cm of free internal space; side panels and furniture construction take up room.
A specific example is the Cavin Arctic Collection 15S Fullglass Black: it belongs to the 15 cm category, while its product information states an appliance width of 14.5 cm. That does not approve it for any arbitrary 15 cm gap. The installation drawing establishes fitting clearance and other required spacing.
Measure the clear opening at several points and assess the finished installation. A skirting board, an uneven side panel or a protruding connection can reduce usable space. For a new kitchen, your studio should use the current appliance drawing rather than infer dimensions from a photograph.
1. Choose the appliance type approved for the position
An opening beneath the worktop requires an appliance approved for undercounter installation. A suitable width does not make a freestanding wine cooler built-in compatible. A tall-unit model and an undercounter appliance are likewise not interchangeable simply because their dimensions look similar.
Start with our separate collections of undercounter wine coolers and built-in wine coolers. Our comparison of the installation types helps establish the right category before measuring.
2. Plan height, feet and plinth together
Measure height from the finished floor to the underside of the worktop. Allow for adjustable feet, plinth height and any required mounting. A stated height interval describes the adjustment range of that appliance, not approval for every height in your kitchen plan.
When replacing an existing base cabinet, a continuous floor panel, plinth feet or crosspieces may change the installation conditions. Check the structure below and above the appliance too. Have the kitchen studio assess any changes to supporting furniture parts.
Door height and the top edge also matter for a coordinated front. The visible door may have a different height from the whole appliance. This is especially important when neighbouring cabinet doors and the appliance front should align.
3. Include connections and the door in depth planning
Measure usable depth to the actual obstruction. A rear socket, plug, cable bend or pipe may need space. Also check whether the product’s depth includes the handle and how far the door projects in the intended installation.
A standard worktop does not guarantee sufficient depth. For kitchen islands, reduced-depth runs or retrofits, compare the drawing with the furniture structure. Position the power connection so cables and the plug are not squeezed and the required access remains available.
4. Include ventilation in the opening design
Airflow is part of installation. Depending on the model, air intake and exhaust use a front grille or specified areas in the furniture. Keep the openings and clearances in the instructions unobstructed; there is no universal spacing value for every 15, 30 or 60 cm appliance.
A solid plinth must not cover a required grille. Extra insulation or a closer furniture frame must not alter the airflow either. Proper ventilation supports intended operation; our article on wine cooler electricity consumption explains its relationship with energy use.
5. Check door movement and bottle access
An appliance can fit the opening yet remain awkward to use. Check hinge side, the open door’s footprint and the angle needed to withdraw the shelves. A wall at the end of the run or a neighbouring cabinet handle may restrict movement.
Consider the distance to the kitchen island as well. The door should open without unnecessarily blocking the passage. A reversible hinge must be documented for the exact model. If you want a furniture front, check explicit Panel Ready approval too; undercounter suitability alone is insufficient.
Infographic: five dimensions and movements to plan

Match capacity and temperature zones to your collection
Before ordering the furniture, consider how many bottles you regularly store. Do you buy by the case or keep a few wines ready for the next evening? A narrow appliance can be a useful addition, but may become inconvenient if your stock grows significantly.
Examples in our range include the Cavin Arctic Collection 30D Black for up to 18 bottles and Cavin Arctic Collection 60D Fullglass Black for up to 46 bottles. These figures apply to the intended loading layout. Larger or differently shaped bottles can reduce the usable count.
Our article on standard wine bottle sizes explains why a mixed collection needs a different assessment. Also check desired temperature zones, shelf heights and access to frequently used bottles. A second temperature zone may be useful, but should suit actual use.
Documents your kitchen studio should receive
- Full model reference and current installation drawing.
- Clear opening dimensions in millimetres.
- Details of floor, worktop, plinth and front alignment.
- Power connection position and planned airflow.
- Hinge side, handle or opening system and shelf withdrawal.
- Responsibilities for delivery, fitting, mounting and future removal.
Have the plan checked before ordering the furniture and appliance. A drawing of the closed front alone is insufficient: include the open position and maintenance access as well.
Frequently asked questions about wine cooler openings
Will any 15 cm appliance fit a 15 cm gap?
No. Check actual width and required spacing using the installation drawing. Height, depth and ventilation must also be suitable.
Can I simply replace a 60 cm base cabinet?
That depends on the furniture structure and appliance reference. Removing the cabinet must leave a suitable opening, support, airflow and connections. Have your kitchen studio assess the finished arrangement.
Do all 30 cm wine coolers have two zones?
No. Width and temperature zones are separate features. Check the selected model’s specifications.
Can a freestanding cooler be built in if it is narrow enough?
Only with explicit approval for that installation. Outside width alone says nothing about required airflow.
How much space is needed behind the appliance?
Use the exact installation drawing and connection position. Do not assume a single clearance applies to every model.
Which width is best?
The one that suits your opening, collection and use. Consider capacity, bottle shapes, temperature zones and access together.
A well-planned place for your favourite wines
Explore our undercounter wine coolers and narrow down the width using your kitchen plan. With your capacity requirements and opening dimensions, our personal advice service can help identify a suitable model.